Working with plain UIViews all the time can lead to UIs that feel stale and lifeless. When you see UIKit functions that offer an animated parameter, you know you can expect a more lively UI interaction.
It would be nice if you could add some of this flair to your own views. With view transforms and animations, you can now give your views those goofy tumbleweed rolling animations you’ve always wanted!
Transformations
UIViews support a transform property for transforming the view in two dimensions. The layer property also supports transforms in three dimensions. These transforms allow you to scale, rotate, shear, translate, and with three-dimensional transformations, add perspective to a view.
To apply these transformations, you can either directly edit the transform matrix or use the provided helper functions. For two-dimensional transforms, you can work directly with the view’s transform and CGAffineTransform. For three-dimensional transforms, the CoreAnimation library is needed and CATransform3D is used in conjunction with a view’s layer.transform. The view’s transform property is actually a proxy for the layer’s transform and any change in one will be reflected in the other. For both types of transforms, there are helper functions for scaling, rotating, and translating. You can make more complex transforms by combining transforms with the provided concatenation helper functions. If you want to do more involved transformations than those provided by the helper functions, you have to work directly with the transform matrices.

Say we want to flip a view 180 degrees to make it ‘Australia compatible’. We could do this by inverting all the Y components of a view:
australiaView.transform = CGAffineTransformMakeScale(1, -1) This transform scales all X components by a factor of one, which is an identity operation, and all Y components by -1, which inverts them. When doing a transform with UIView, the center is considered the center of the frame. This allows for flipping and rotating a view without having to reposition it afterwards. Unfortunately, in this case flipping the view makes all the text garbled since it flips each of the letters. If we instead wanted to preserve the letters in a readable (albeit upside-down) way, we could rotate the view. When working with rotations, angles are specified in radians, with π being a 180 angle. You can use the provided math constant M_PI and the other π related constants for common angles.
australiaView.transform = CGAffineTransformMakeRotation(CGFloat(M_PI)) Instead of rotating the view to make it ‘Australia compatible’, let’s create a three-dimensional transformation that mimics the appearance of Australia on a globe. The geographic center of Australia is about 24 degrees latitude south of the equator, so we will rotate the view -24 degrees around the X axis. We would also want the view to appear representatively below the center. Since Australia is about 800 miles south of the equator, we will translate the view about 80 points down. We can do both of these with a set of CATransform3Ds. (These numbers are somewhat arbitrary and more to serve as an illustration of transforms).
let rotation = CATransform3DMakeRotation(-0.419, 1, 0, 0)
let translation = CATransform3DMakeTranslation(0, 80, 0)
var australianTransform = CATransform3DConcat(translation, rotation)
australianView.layer.transform = australianTransform
When you apply a transform to a view, you alter it coordinate space. Once you apply a transform, the frame of a view can no longer be trusted and documentation mentions that its value is undefined. For a rotated view, the frame may actually be much larger than what you would expect. However, AutoLayout will continue to work after a rotation. So if you want to use transforms, it would behoove you to use AutoLayout!
Transformations allow you to work with views in more than just a traditional, two-dimensional way. They allow you to turn text sideways, flip an image around, or scale a view to a larger or smaller size. And when combined with animations, you can really spice up your views!
Animations
UIViews also allow you to animate certain changes. You can animate the geometry of a view through the frame, bounds, and center properties or with AutoLayout constraint constants. You can also animate the shape of the view through the transform and the opacity and color of the view with alpha and backgroundColor. Any properties of a view’s backing layer can be also be animated. In fact, all animations are actually animations on a UIView‘s backing layer. More than one property can be animated at a time, allowing you to create some interesting animations.
The recommended way for creating animations is with UIView.animateWithDuration(_:delay:options:animations:completion:) and the related functions. Within the animations block argument, setting a property will implicitly change it from its current state to the specified state. The duration and delay parameters are specified in seconds, and along with the options, determine how quickly or slowly the animation takes place.
view.setNeedsUpdateConstraints()
UIView.animateWithDuration(1, delay: 0.1, options: [.CurveLinear], animations: {
    self.imageTopConstraint.constant = 100
    self.imageLeftConstraint.constant = 100
    self.view.layoutIfNeeded()
  },
completion: nil ) 
This is an example of how you could move the imageView origin to (100, 100) within its superview with constraints. You can modify AutoLayout constraint constants in the same way you would the frame or bounds. However, the view needs to be notified of the updated constraints with both setNeedsUpdateConstraints() and layoutIfNeeded()
Animations are a good way to show a user that they performed an action – it gives them a noticeable change in response to their actions. For example, if you have a cart that a user can add items to, you can have the button to add animate to a button to remove. This can be achieved by changing the backgroundColor of a button from green to red. Since we don’t want to change any options or have a delay, we can use the shorter UIView.animateWithDuration(_:animations:):
UIView.animateWithDuration(0.5) {
  self.addCartButton.backgroundColor = UIColor.redColor()
}
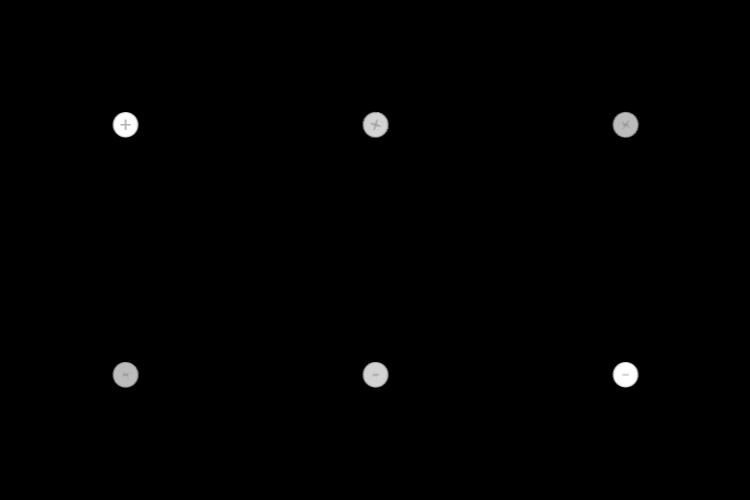
Unfortunately, not every aspect of a UIView is animatable though. If we wanted to change the image of a button, there would be no way to animate this change. (This is a white lie, you can do it technically, but it is not recommended for UIViews). You can be clever though with the animations and have it appear to change by changing the alpha property of two overlapping buttons. You could also add a transformation with the change in the opacity to give a little flourish:
UIView.animateWithDuration(0.5) {
  self.plusSignButton.layer.transform = CATransform3DMakeRotation(CGFloat(M_PI_2), 0, 0, 1)
  self.plusSignButton.alpha = 0
  self.minusSignButton.alpha = 1
} 
There are also more complicated animations that can be done with CABasicAnimations and CAKeyframeAnimations, for when the block animations just can’t do exactly what you are looking for. Animations are a great way to make an app feel more dynamic. Especially when you are changing many UI elements, animations can help draw a user’s attention to what has changed or respond to a user’s interaction. Combined with transformations, you can perform many interesting effects that can help differentiate and add character to your UI. The things done here just barely scratch the surface, and I encourage you to play around with all the different ‘knobs’ that transformations and animations have to offer!

